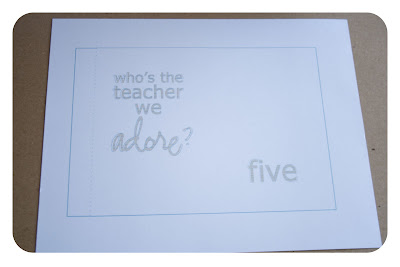
 1. Modify the five PSD files to suit your needs and print. I simplified the word layers then used the words as masks so I could cover them with lined school paper from Splendid Fiins Too Cool For School Paper Pack 1. I defined the edges more by using the stroke/outline feature under Edit in the task bar.
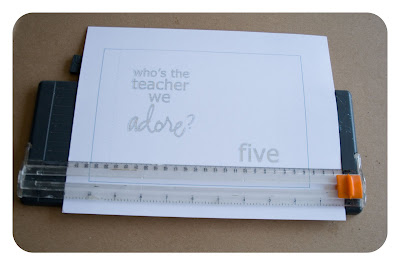 2. cut using solid lines as guides.
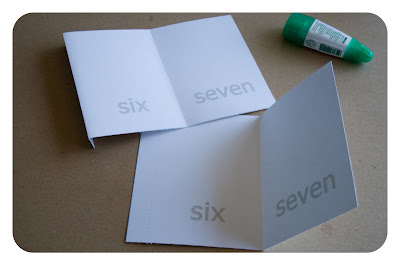 3. Fold each sheet in half to dotted line and then fold along dotted line as seen here.
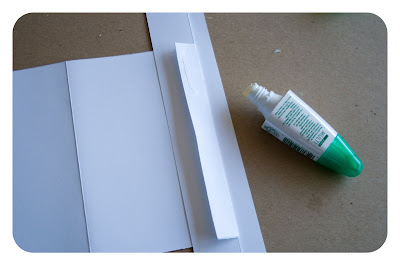 4. I used paper scraps to keep everything clean while applying glue. It worked very nicely.
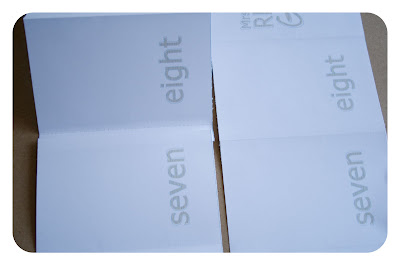 5. glue as shown so that the glued tab is on the underside of the previous page.
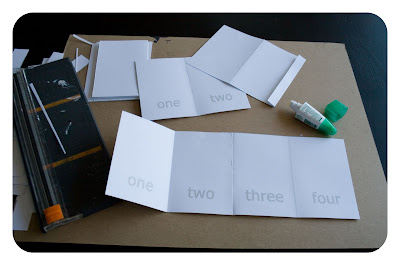 6. This is what it will look like unfolded with two pages glued together.
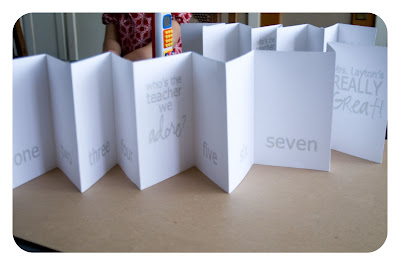 7. repeat the gluing process until all of the pages are glued together to look like this. Clear as mud? Feel Free to ask any questions!
Now on to the fun part!
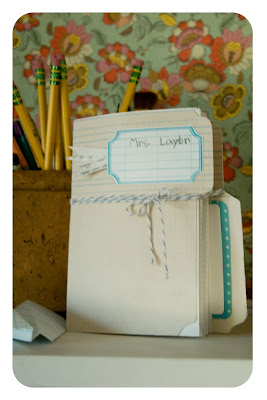 8. Decorate the front and back of your card as you see fit. I used the elements included in the Mouse Paper Scissors + Mouse Paper Scissors - Mom classes for my embellishments. I also used the file folder cut template from MPS-Mom class to make a mask. Just drop in your chosen paper [I used papers from Splendid Fiins Too Cool For School Paper Pack 1] and print or print as is and use as a cut template. I wanted mine extra sturdy so I printed a mirror image and sandwiched them together.
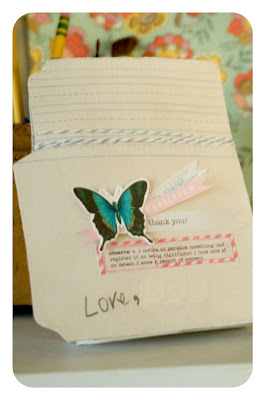 9. Repeat step 8 for back cover. I included a library card pocket to house a gift card. This was sandwiched between the two layers of the back cover. I failed to get photos of this process. I apologize. Have your child write on the card before adding the inside contents. It would be much easier that way :). To attach the guts to the cover you will want to mark where there is overlap [you can see this well in photo 8] then cover the back side of page 1/page 8 with glue avoiding the overlap areas then stick them together + use a brayer or something to really stick it down with minimal bubbles.
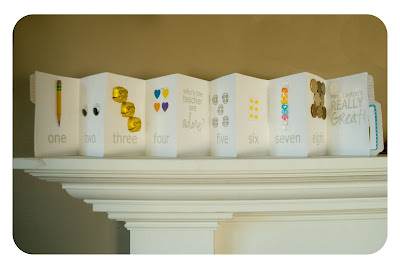 10. This is what it looks like all stuffed.
- pencil
- googly eyes
- chocolates
- heart stickers
- paperclips
- candy buttons
- sixlets [though they typically come with 8 per pkg... lucky me!]
- dollar coins [our teachers like to go to Cafe Rio and this just about covered lunch.]
Truthfully, this was a bit of work, but so worth it. Really. So cute! In the box you will find a zipped file that includes PSD files for the inside pages, the file folder mask + mirror image, and the library card mask. Help yourself! Please let me know if you use it. I'd love some feedback.
ps. It says:
one - two - three - four - who's the teacher we adore
five - six - seven - eight - Mrs. Layton's our teacher is really great!

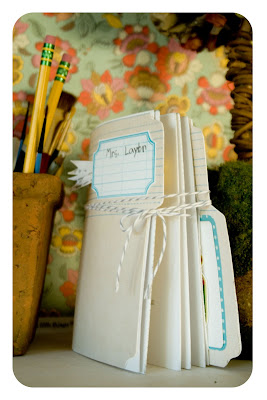


SO cute!! will have to remember this one for next year.
ReplyDeleteBloomin' Genius!! I will definately be stealing this one...
ReplyDelete